Reference Photography for Illustration: A Quiet Workflow
Plan with purpose
Good reference photos start with a clear question. Are you documenting pose, drapery, light on form, or texture? Limit each shoot to one or two objectives so you collect purposeful images rather than random captures. Prepare simple props and ask subjects to hold poses for short intervals to allow multiple camera angles.
Control light and camera choices
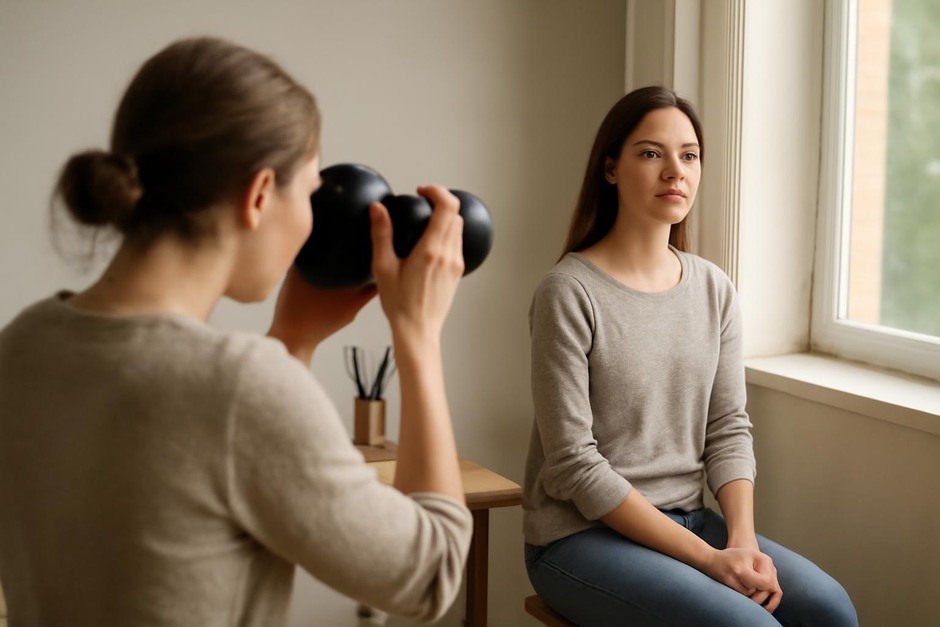
Natural window light is often the most forgiving for illustration reference: it reveals form gently and offers predictable shadow behavior. If using artificial light, choose a single key source and one fill. Keep exposure and white balance consistent across a set so you can compare images reliably.
Compositional checklist
- Silhouette clarity: Make sure the subject reads clearly against the background in at least one frame.
- Secondary details: Capture a close-up for texture and a mid-shot for gesture.
- Multiple angles: Shoot from three distinct heights or distances to learn how form changes with perspective.
Ethical and practical considerations
Always obtain consent when photographing people and respect privacy. When using public scenes, be mindful of bystanders, and make short notes about where and why a scene is useful. For personal archives, keep metadata that records the date, location, and the study purpose for each image.
Simple exercises to build a steady workflow
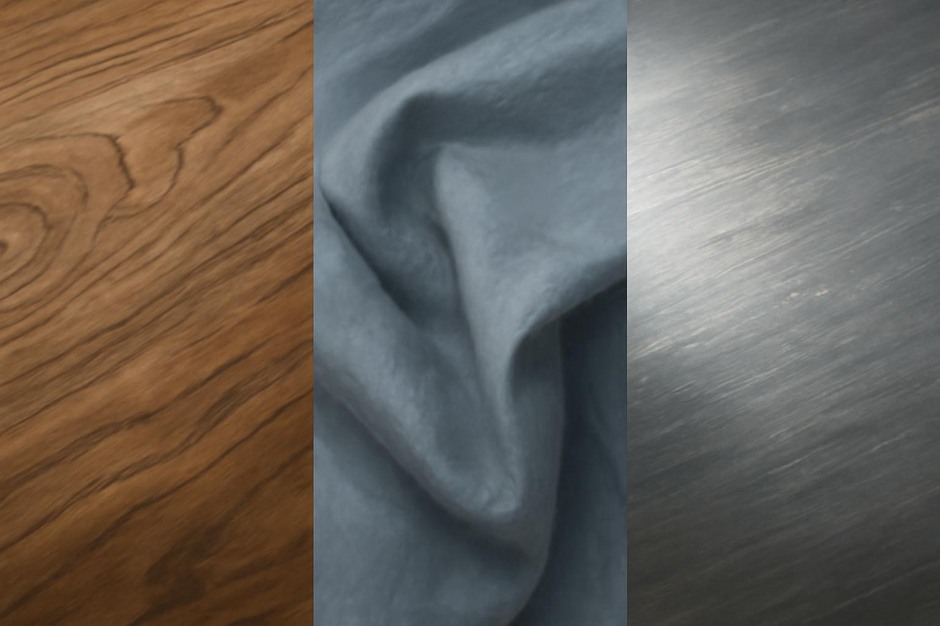
- One-object study: Choose an everyday object and photograph it under three lighting conditions: flat, side, and backlight. Create three quick digital studies from these photos to test how lighting affects material description.
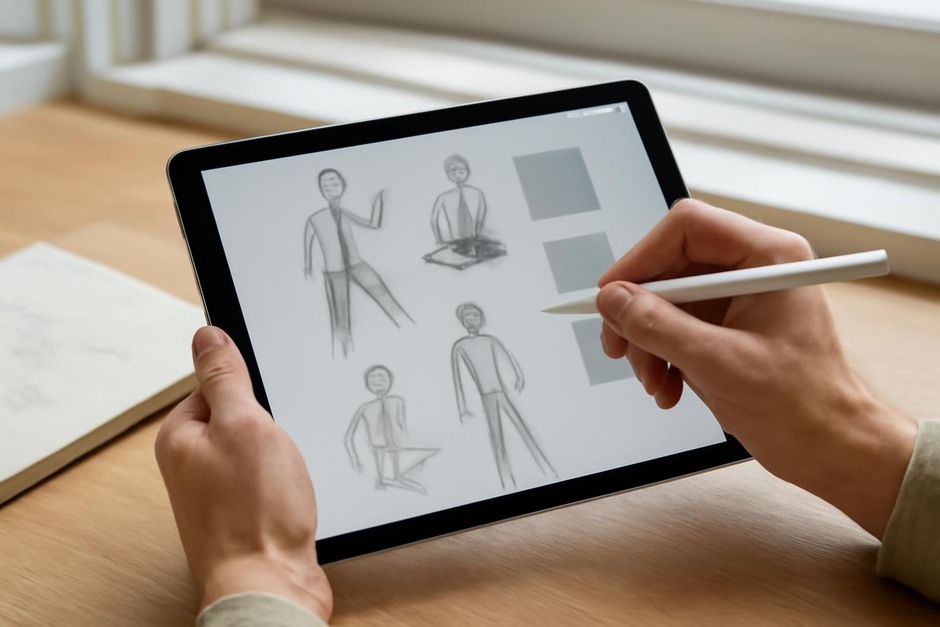
- Pose repeat: Ask a subject to hold a pose for three 30-second intervals while you photograph from different angles. Use these frames as a small pack to practice gesture and foreshortening.
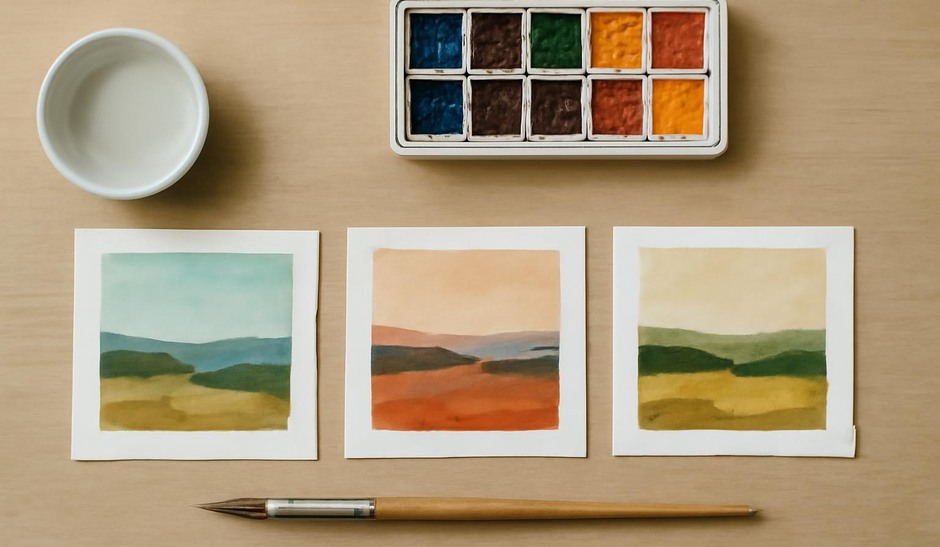
- Window-light pack: Spend 20 minutes photographing a scene at two different times of day. Compare how color and shadow shift and use the images to run short color key experiments.
File habits and integration
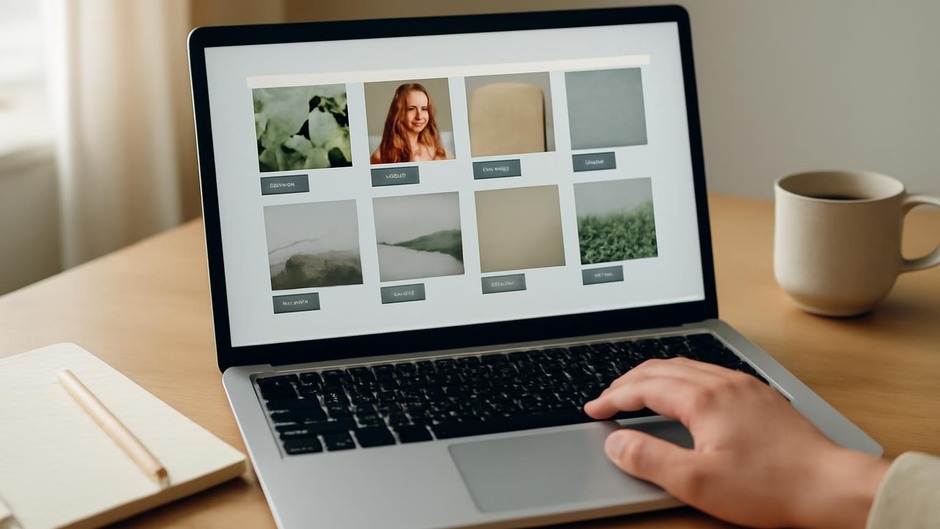
Organize photos immediately after a session into a dated folder with a short descriptor and tags that note the study goal. Add quick annotations about what made each shot useful. When you begin an illustration, pull only the specific images that match your study objective and place them on a visible layer as you work.
Reference photography for illustration is about creating reliable building blocks: clear silhouettes, consistent lighting, and purposeful framing. Small, focused shoots and disciplined file habits yield material that supports iterative studies and allows you to spend more time making images and less time searching for useful reference.